Today, I want to share with you on how to make a simple, wide angle picture from a series of pictures called panorama. And for photo merging, I used a software called Microsoft Image Composite Editor (ICE) that can be downloaded HERE.
The Rules of Panoramas
1) Keep your camera completely level, so the vertical lines don't converge.
2) Set focus, exposure and white balance (WB) manually so they don't change from one picture to another.
3).Overlap pictures by about 25%, as it makes easier to line up and ensure that no areas are missing (software will have no ideas on how to stitch if some areas are missing).
4)Use a remote release and still tripod so that images produced are all sharp.
5) Try to minimise the time between pictures, in case something changes, like clouds etc.
6)Shoot slightly wider than you think you need to allow some margin for error with lining up the different pictures.
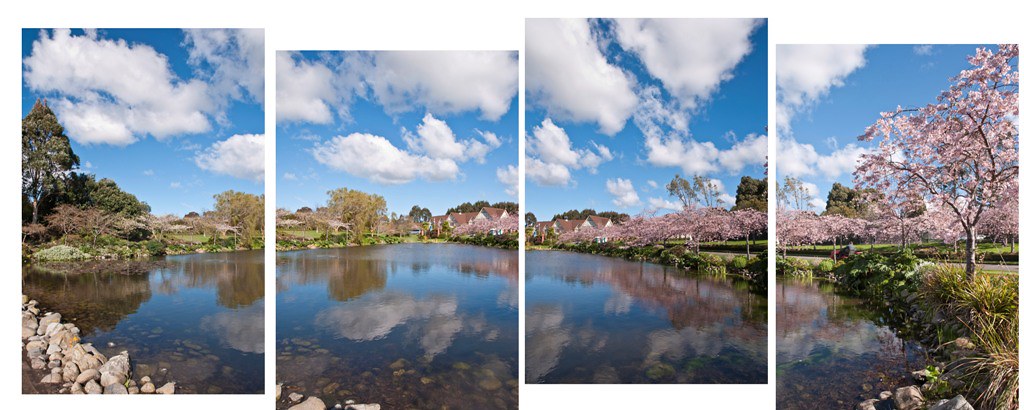
Pictures lining up.
Tips
1) Once you have picked up suitable scene, get your camera's settings correct. Since you're shooting a landscape / scenery image, use maximum depth of field by increasing the aperture (around 7-11 stop). For pictures above, I went for 1/50 sec at f/10 (ISO 100).
2) Shooting vertically (in portrait orientation) rather than horizontally (landscape format). It means that, you take more shots to cover the same area, but it will resulted in less distortion and better looking image.
3) Sweep ; Take the first shot and then start to rotate your camera from one side of the view to another. Be sure to overlap each picture by around 25% to avoid any missing gaps.
Photomerging using ICE
1) Once you returned from the scene, upload your images to your computer. Next, open ICE and then click File>New, and then select your images just now for photomerging process.

Main menu for ICE
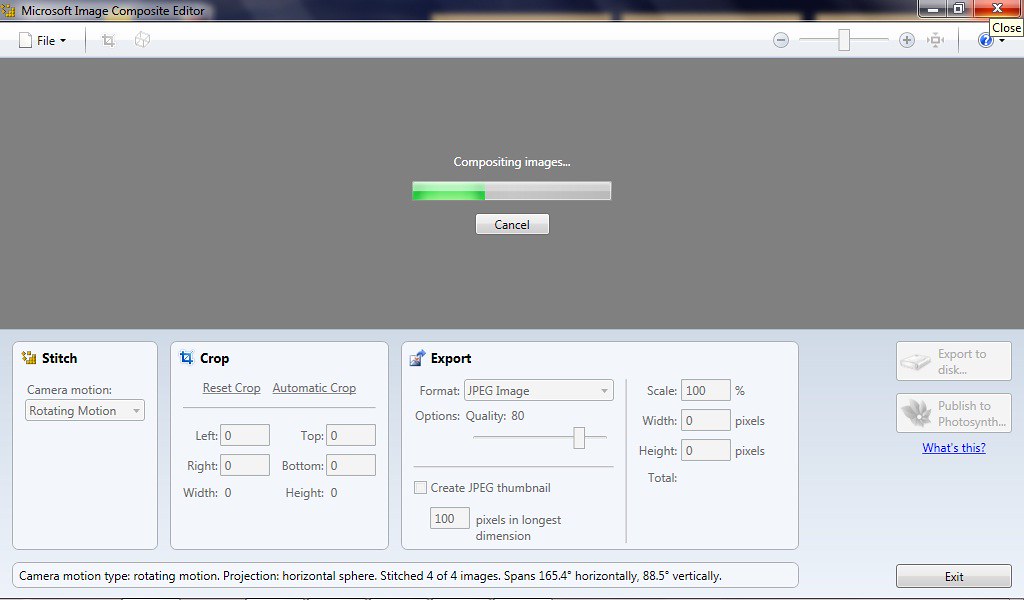
Image processing...
2) It will take a while until the preview of the produced panorama is displayed. The first thing you'll probably notice is that there's some uneven edges are seen. So, the next stage is to crop the image. I often used the automatic crop tool, which save my time :)
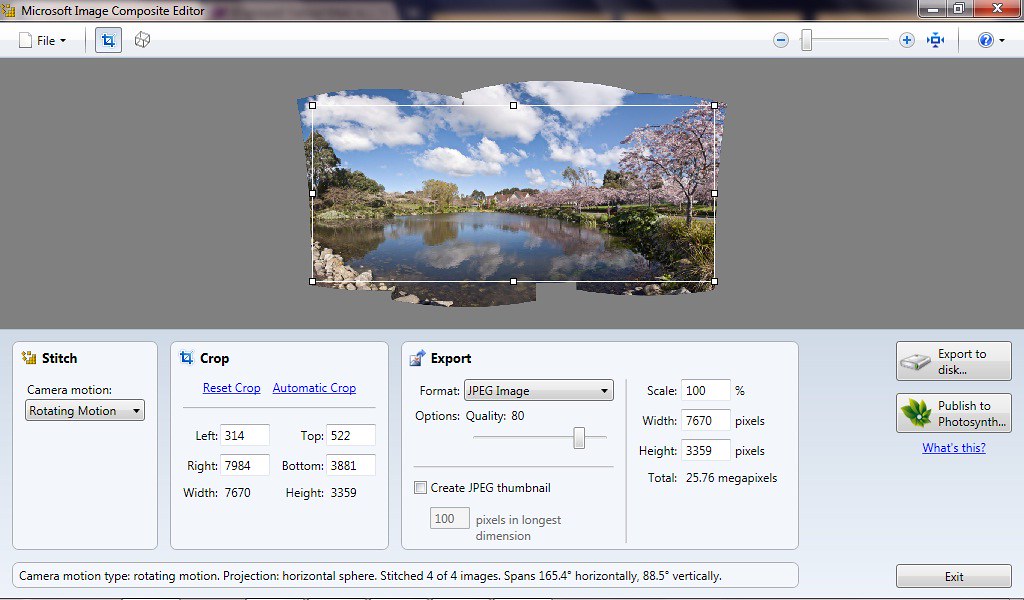
frame shown on the image is the area that going to be cropped.
3) When you're satisfied with the final image produced, export the image as JPEG (other choices like TIFF etc are available if you want), and then click "Export to disk".
4)Voila! That's it. Here's the final image that you may get:
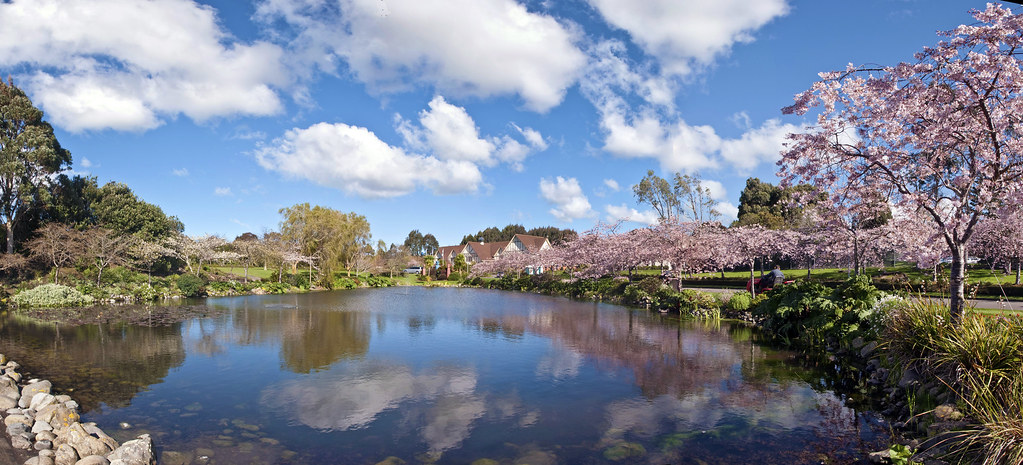
IPC Lake, Palmerston North. Taken in the end of Spring this year.

Panoramic view of Lake Garden, Taiping.
10 comments:
thanks for the tips! =)
You're most welcome :D
very helpful nadly..
thanks bro :)
huhu cantik nyaaaaaaa!!
lake tu sangat cantik..
ahhh mesti tak bosan kan study sana.
sebab kalau bosan, boleh tengok view2 yang menarik. haihhhhhh
(in love with NZ. haha)
FF ~ Subhanallah. Actually bnyak lg tmpat2 yg lawa kt sini. Insya Allah kalo de mase, nk amek gmba kt tmpat2 tu lak :)
thank you so much for the tips! :)
also, your works are amazing! thank you for sharing them with us
Dayah~ thanks for the compliment. Still learning tho' :)
cmner ko retouch kasi kler langit jadi biru?
Gne ISO paling rendah. N then, WB = daylight.Gune matrix nye metering.
Retouch = adjust curve dgn level.
Post a Comment