Assalamualaikum wbt and hello everyone,
Just got my first macro lens last three days, which is Tamron SP AF 90mm f/2.8 Di. Actually, I bought Tokina 100mm f/2.8 Macro in the first place but somehow there's no stock available for Nikon mount so I decided to switch to the current lens.
Since there are not many bugs in New Zealand compared to birds, so most of the shots are flowers, plants, leaves and buds. But I'll try to search for insects next time perhaps.
For me, there are four most important factors that need to be remembered in order to get a good macro images.
1. The composition.
Take some times to compose the frame. If it's not possible then try to crop it during post processing. My principle on the composition is that "less is always more". Try to avoid cluttered, busy frame that will distract the viewers from looking to the main subject.
2. Focusing and Sharpness.
This is one of the difficult things to do. Since the subject are mostly bugs or flowers, it tends to move (bugs are flying from one place to another, and flowers being blown by wind). So, it's kind of tricky to lock the focus. Plus, when using macro lens, the focusing speed is kind of slow which most of the shooters prefer to do manual focusing. For beginning, I still stick with the auto focusing. Patience might be the best remedy for this problem. One of the simple tips might be on using a single focus point and aim it on the best parts of the subject. As for me, I prefer to lock the focus on the insect's eye or flowers' stamen.
3. Enough Depth of Field (DOF).
When using macro lens, much closer we are to the subject, the less the DOF become. In the normal shooting, f/2.8 - f/8 will be just enough to get the subject in focus but it's different when comes to macro. Usually I use around f/11 - f/20. The downside of this action is that the image will be under exposed and sometimes, it will be less sharp due to the diffraction when using lower aperture.
4. Lighting.
To overcome the tendency of underexposed image due to the factor no.3 as mentioned, we need enough lighting so that the details can be captured in well exposed image. First day that I went out shooting using this lens, I brought with me a Nikon SB600 external flash attached to Orbis ring flash adapter, handheld. And it was wireless triggered using built in camera flash. The good things about it was the light is evenly diffused on the subject and almost no harsh shadows on it, but it's way too heavy. I later on mounted it on the tripod I brought on the second day, but the downside was it took some time for me to setting it up (the tripod) near to the subject which later on flying away when I finished.
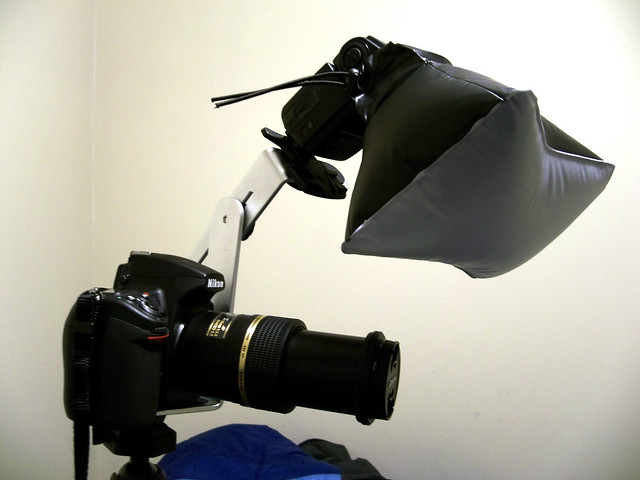
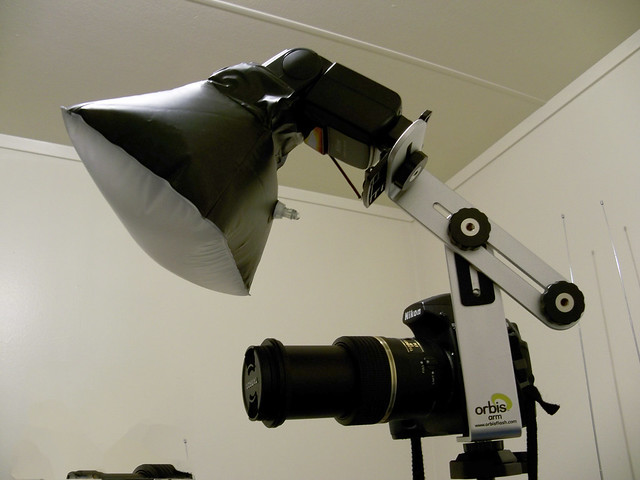
Finally, I have designed a better lighting setup, which using the SB600 attached on the Orbis arm which is connected to the tripod mount of the camera body. And on the flash head itself I put an el-cheapo softbox that I bought from Trademe. And it works, plus not too heavy so I can use both of my hands supporting the whole system. Below are the pictures of it :
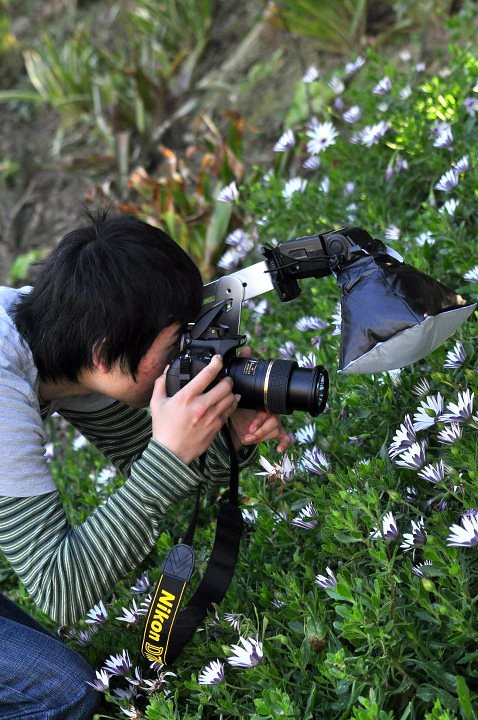
I let Koid try it out while I took his picture :)
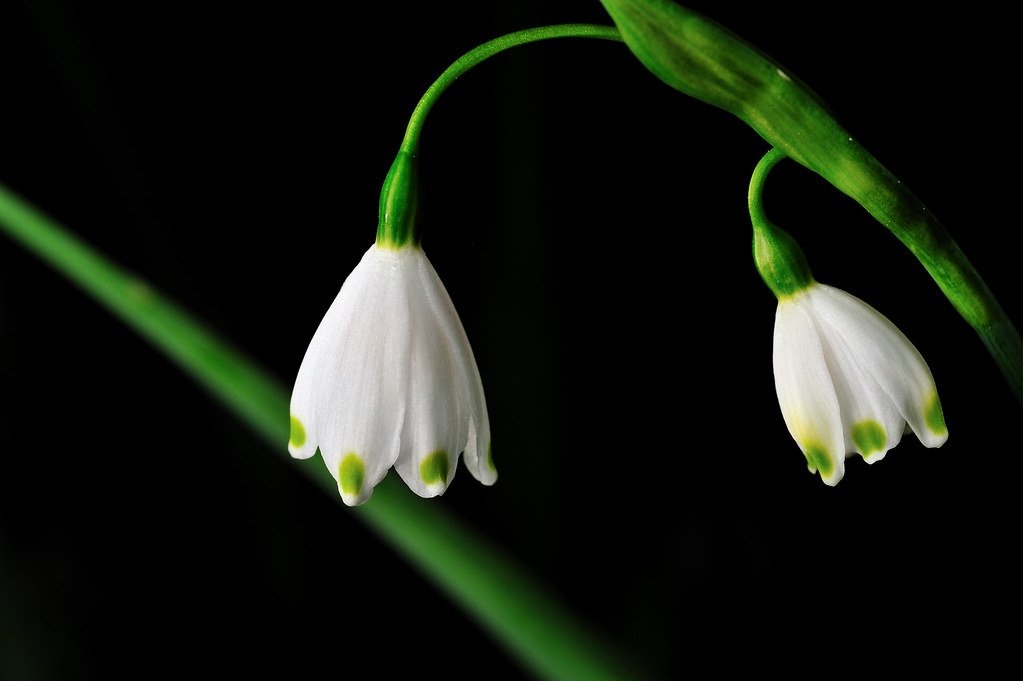
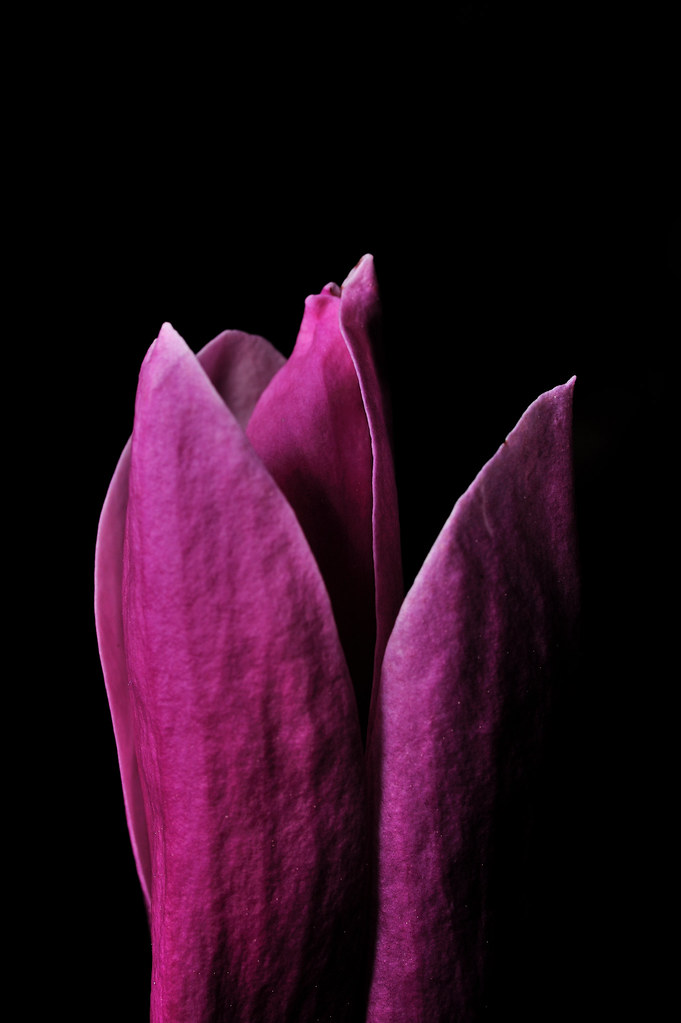
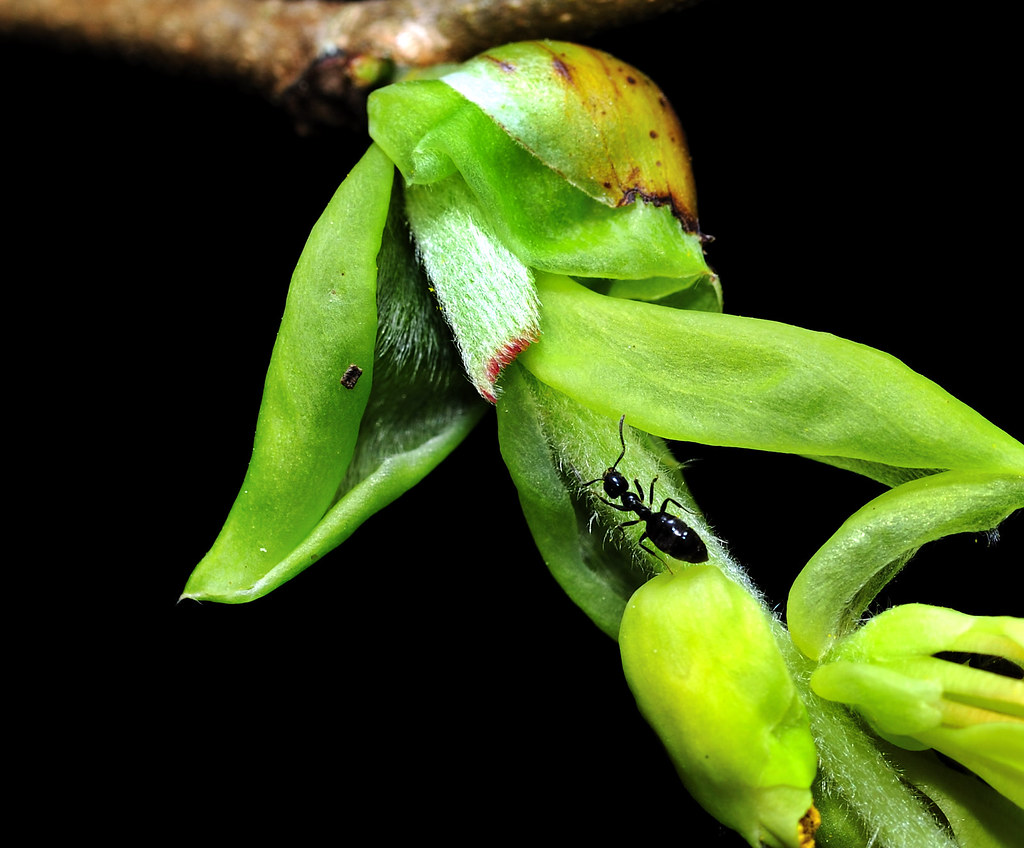
Here are some of the results I got for last three days shooting using this lens :

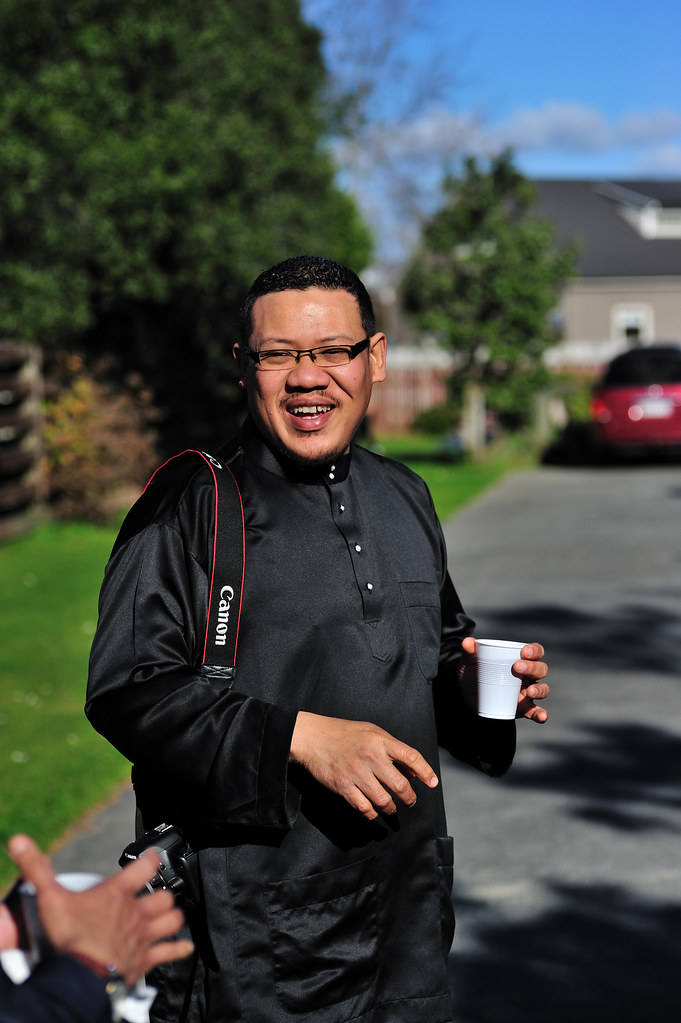
This one was taken by Koid, my friend using my camera during outing this morning.
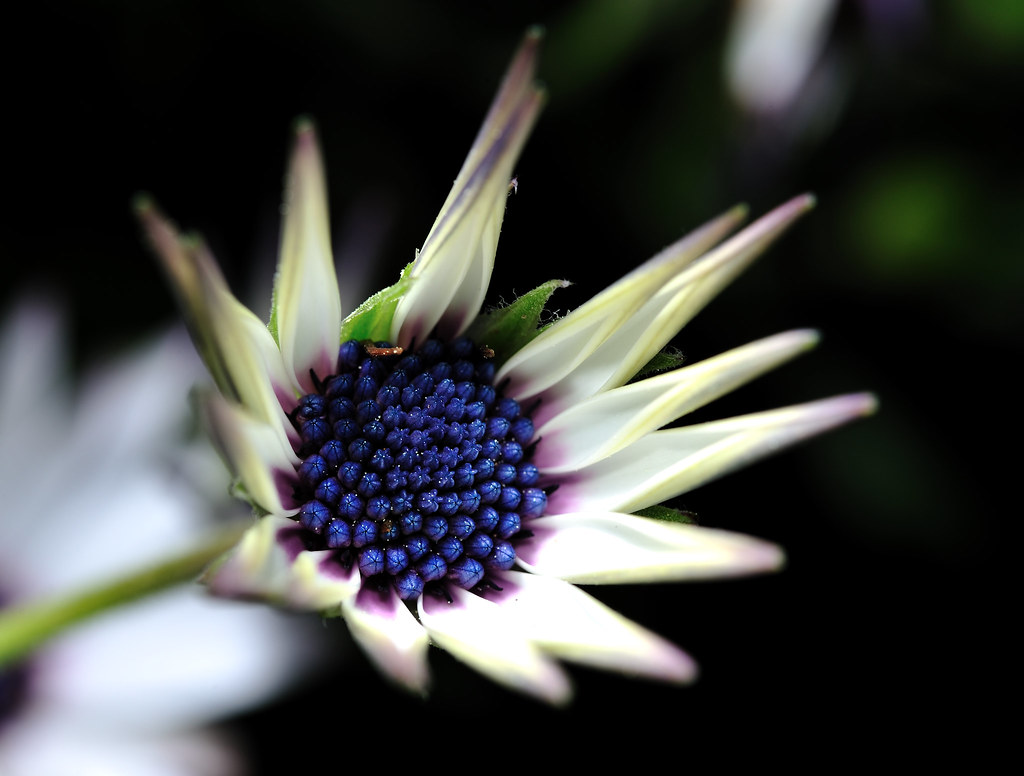
I put SB600 + Orbis adapter to the left side of this flower, handheld.
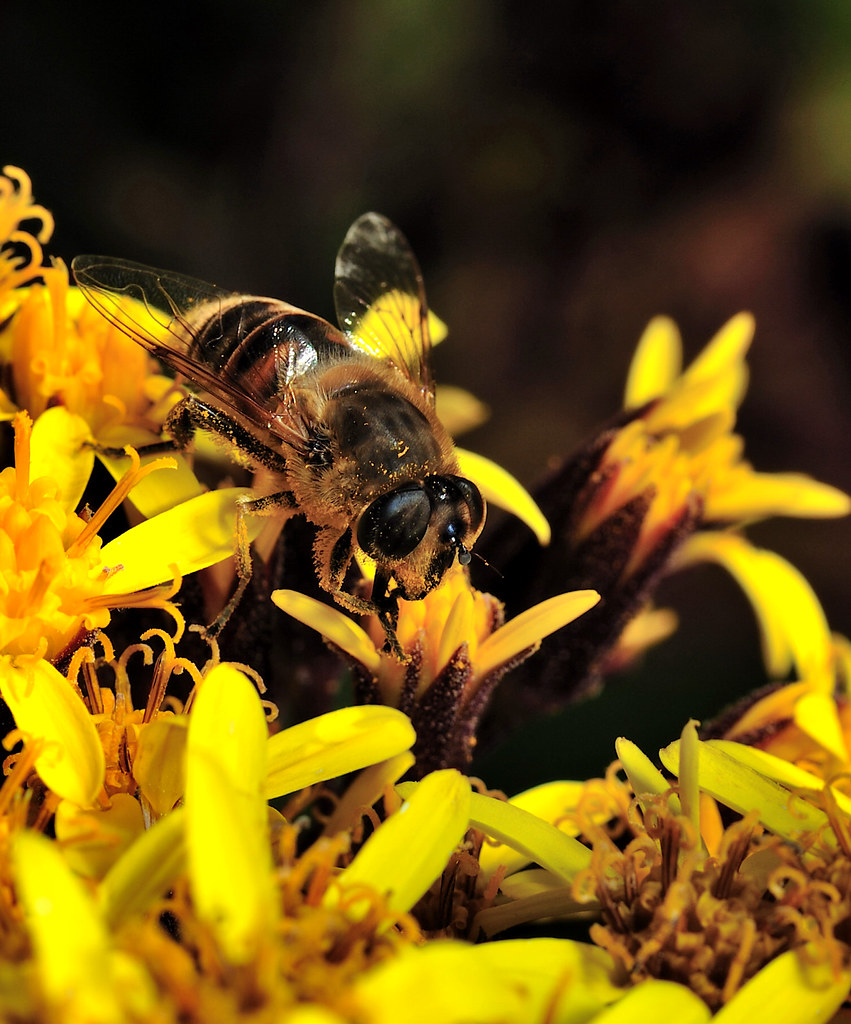
Perhaps the best of my macro shots so far. This one kinda tricky since it tends to move quickly from one flower to another.
Apart from macro/close up, macro lens also can be used as all day normal lens or the best, as portrait lens. In fact, it's known as the best portrait lens since due to its sharpness like the following image :
That's all for now. Thanks for your time visiting my blog.
No comments:
Post a Comment