This time, I want to share with you guys on how to do a vertorama image. Vertorama is simply the same thing like panorama ; photos-stitching. And it's an alternative way to imitate the broad, wide angle lens used vertically.
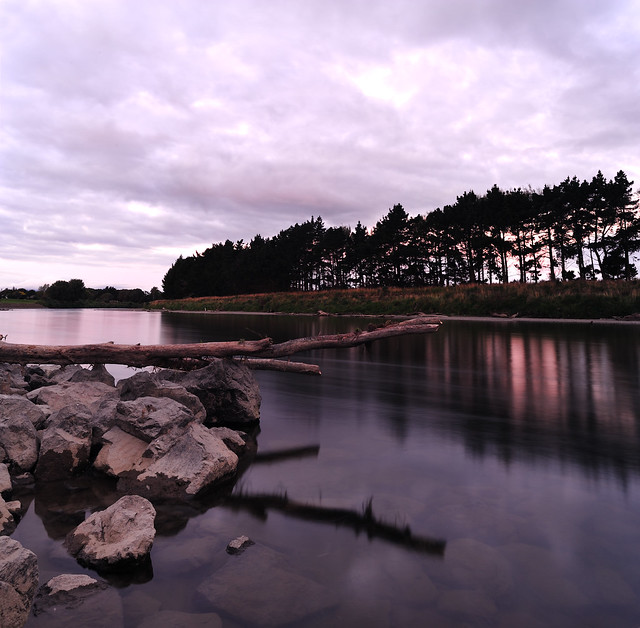
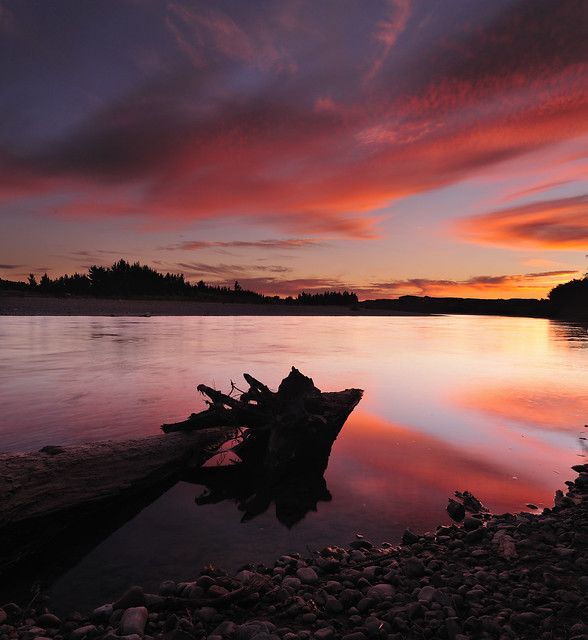
Example of vertorama
Centennial Lagoon, Hokowhitu
Basics
Things that you need are simple. A camera, a tripod, remote shutter and also if you want to playing around with light, then bring along neutral density (ND) filter. Another thing, the best moment to capture the picture. This is sometimes, not an easy thing to do. Like myself yesterday, I spent around one hour just to capture pictures on the right time ; sunset.
As usual, I shoot in RAW. Why RAW? This format gives me more flexibility to tweak few settings like white balance in order to get spectacular pictures that I want, plus to retrieve details that lost if the pictures are under or overexposed.
When the time comes, I mounted my camera on the tripod and positioned it on the best angle (I prefer to use low angle, depending on the situation). Use of remote shutter is highly recommended since slower shutter speed is used.
Vertorama technique
Well, in vertorama, at least two frames are needed. One for foreground, and another one for background. Here comes the importance of tripod, because when you finished with one frame, you need to change the camera's position vertically (upwards or downwards) without changing much of the horizontal position.
The most important thing here is that to ensure white balance for both frames are the same. You can either set this up in your camera before taking shots, or if you're shooting in RAW, just simply take care of this with appropriate software like Adobe Camera RAW or Nikon Capture NX2 (I'm using the latter).
I used the Aperture priority mode (A). Manual mode (M) also can be used as well, if you don't want to change any other parameter such as shutter speed.
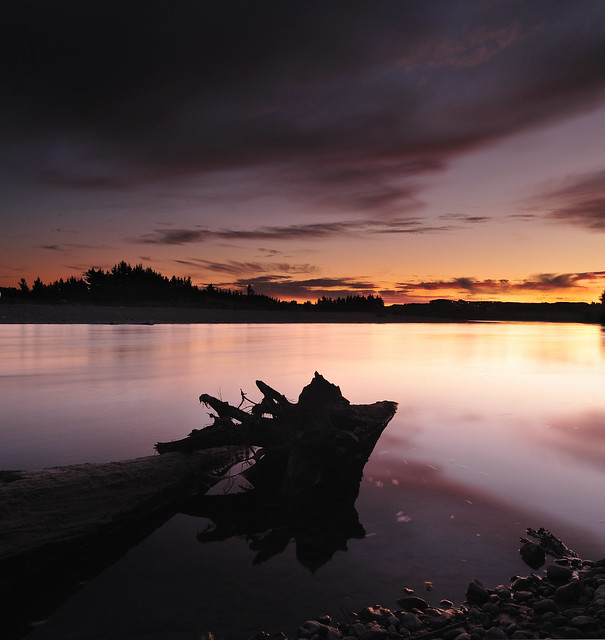
First frame for the background.
And the second frame is for the foreground (can be in any order you want).
Post-Processing Workflow
After coming back home from the scene, I loaded up all of the images taken. Since I'm shooting in RAW, I will settled down white balance first with Nikon Capture NX2 and maybe some of the things like to eliminate vignette, contrast enhancement etc. In this example, I used "daylight" white balance with the setting of either "cloudy" or "shade" to give the pictures much warmer, suitable with that moment. Finished with all of that, I saved the files as 16-bit TIFF. Done with Nikon Capture NX2, now I moved out to Adobe Photoshop CS5.
For your information, I'm usually shoot few frames for each foreground and background. For this purpose, I used Auto Exposure Bracketing (AEB) feature in my camera, so that I can merge some of the pictures in Adobe Photoshop CS5 manually in order to get the best exposure for each frame. If you want to know more about this, you can google "manual exposure blending". There's plenty of tutorials available online.
Now I moved to Microsoft ICE for the final process ; photos-stitching. Basically simple stuff, just load the images, and the rest it will get it done for you. Finally, save the final image as JPEG (or if you want to do any further editing, then make it TIFF). For those who are still new to Microsoft ICE, then please refer my last entry about it HERE .
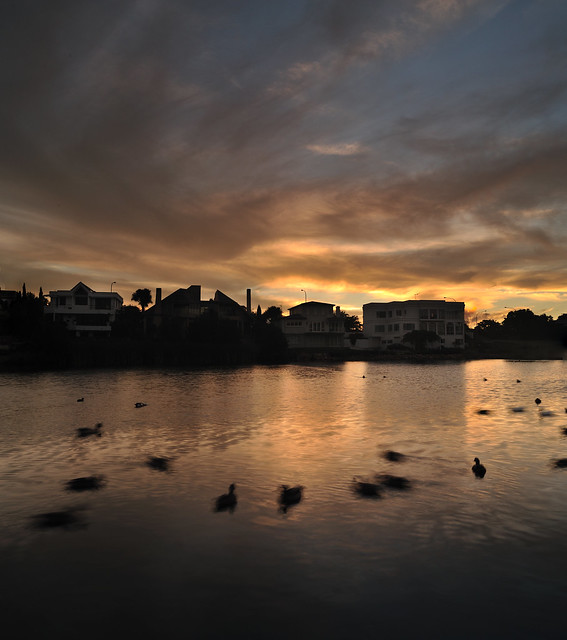
Here's the final images that you may get :
Manawatu River from Awapuni's part.

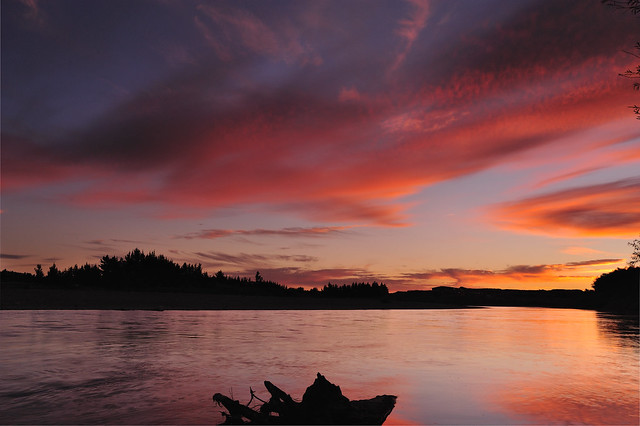
Manawatu River from West End's part
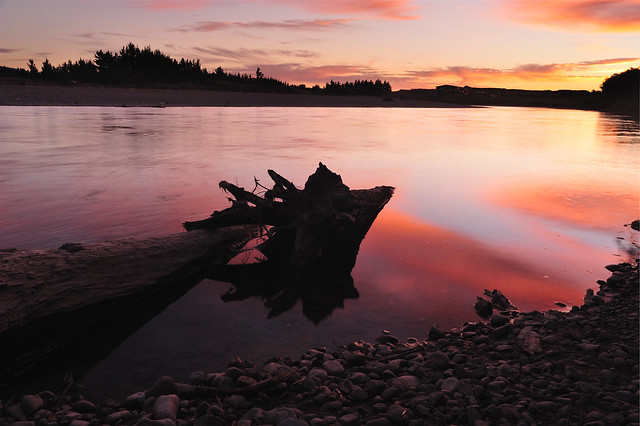
The unreleased version of Manawatu River, Palmerston North
That's all for now. Feel free to ask me if you don't understand or want to know in details. I would like to thank my brothers in FOTOMEDIA for introducing this technique to me.
1 comment:
Excellent tutorial.
Post a Comment