Assalamualaikum w.b.t. dan salam sejahtera,
Kali ni aku nak kongsikan dengan sume, cmne nak buat gambar yang ade ciri2 High Dynamic Range (HDR) ni. Firstly, sengaja aku tulis dalam bhase Melayu xrasmi (still cmpur BI sket) sal nak bagi korang paham sket cmne nk buat ni. N then, sume yg aku tulis ni adalah berdasarkan pengalaman aku sndiri shoot gmba2 HDR ni spanjang hampir 2 tahun. So, maybe ade yg salah n ade yang terkurang. So, kalo de otai2 dan pro yang terbaca entri ni, boleh la memberi komen dan pandangan untuk memperbetul atau menambahkan lagi mne yang kurang dan tersilap.
Maksud HDR secara kasar
Utk pengetahuan sume, kamera DSLR yg kite selalu gne tu ade limitation dye, iaitu dye xdapat nak capture mcm mane yang mata kita boleh tgk.Sebagai contoh, kita amek gambar dalam bilik menghala ke arah tingkap. Bila focus point tu tertumpu kat tingkap, n then kita amek gmba, yang kita perolehi ialah area tingkap tu saje yg well-exposed. Sekeliling tingkap? Ruang dlm bilik kita? Jadi underexposed. Tukar2 metering pun xbape nak mmbantu sangat. Jadi, biasanya fotografer guna ND atau GND filter utk solve problem ni. Tp, de gak cara lain yg berkesan, iaitu dengan teknik HDR.
HDR ni secara kasarnye bermaksud, gambar yg terhasil melalui teknik ni akan dijadikan lebih tinggi intensity (kekuatan) pencahayaan diantara bahagian gambar yang gelap (shadow) dan juga bahagian gambar yang terang (highlight). Senang citer, gmba tu xde la parts dye yang terlalu charak (bhase kedah- cerah) dan yang terlalu gelap. Semuanye sekata je pencahayaan dye. Untuk memahami dengan lebih lanjut, rase2nye banyak je buku2 sal HDR ni. Aku rekemen korang bace buku2 tulisan dari Trey Radcliff dan Rick Sammon. Aku de satu buku Rick Sammon ni dalam aku nye megaupload. Boleh download kat
SINI.
Basics untuk menangkap gambar HDR.
Untuk menghasilkan sebuah gambar HDR, anda perlu menangkap beberapa gambar bagi scene yang sama, tetapi berlainan exposure value. Mnde ni boleh dilakukan dengan menggunakan satu function di dalam kamera yg dikenali sebagai Auto Exposure Bracketing. Jadi, just setkan berapa exposure yang hendak ditangkap dengan sekali shutter-press, dan juga setkan berapa increment bagi setiap exposure. Sebagai contoh, selalunya hanya 3 gambar yang diperlukan, dan exposure increment bg setiap gambar ialah, -2, 0, +2. Jadi, setkan bracketing function anda kepada 3F (3 exposure) dan juga +2.
Bagi kamera yang xde feature ni, so tpakse setkan secara manual menggunakan exposure compensation button. Selalunya, mode yg digunakan ialah Aperture-priority (mode A). Untuk memastikan xde bnyak pergerakan antara setiap gambar yang mungkin mengganggu proses blending, penggunaan tripod amat digalakkan. Aku selalunya shoot dalam RAW format sebab dlm format ni lagi bnyak details yang ade n lagi tinggi dynamic range dye berbanding dengan format JPEG.
Ade gak care lain utk hasilkan HDR ni, iaitu shoot satu gambar RAW, n then gunakan RAW editor untuk hasilkan beberapa gmba yang berlainan exposure dye. Selalunya care yg cmni aku gne bile nk shoot something yang bergerak cm kereta dsb.
Setting ; Guna ISO yang paling rendah, dalam 100 tu cukup r. Bnyak2 lak nnti timbul noise yang terkumpul dari sume gmba2 tu. Aperture seelok2nya guna dalam 7-11 stop, so depth of field dye lagi dalam, sesuai untuk gmba landscape yang sharp.
Jadi, contoh yg aku gne dalam entri ni ialah gambar yang aku amek tempoh hari time trip gi Singapore tuh. Time tu aku amek 5 gmba yg berlainan exposure.
Gamba kete kat NYC, Universal Studios.
HDR Processing
Okeh, ni part yang paling penting aku rase. One and only software yang aku gune utk HDR ni ialah Photomatix. Senang nak buat mcm2. Huhu. So, balik2 dari amek gmba, terus aku bukak software ni dan load gmba2 yg nak di-blend.(Utk setengah2 gmba, aku mybe gne Nikon Capture NX utk betulkan bbrapa mnde yg aku rase sesuai sebelum proceed dgn photomatix).
Menu utama dalam Photomatix
Loading...
Pre-processing options
Okeh, part ni akan pop-up bile korang dh settle loading gmba2 yg patut tuh.
Jadi, dye ade bape options kat situ. First skali, align source images. Option ni utk matchingkan gmba2 tu. Jadi kalo de pape pegerakan antara gmba cm aku kate tadi, so software ni boleh la betulkan balik. Tp, lastly de la jugak part yang kena crop. Huhu. Aku selalu gne by matching features, coz dye bagi the best matching yg boleh dibuat.
Reduce ghosting artifacts. Ghosting artifact ni terjadi bile ade something dlm gmba tu yng bergerak, cam orang. Jadi feature ni boleh la kurangkan sket.
Reduce noise. Mcm bese la, aku pun dah tulis tadi kat atas, cmne wujudnye noise dlm gmba2 HDR ni.
Reduce chromatic aberration. Letih aku nk explain sal ni. Google r sndiri k. Haha.
RAW conversion setting. Option ni ade kalo korang load gmba2 RAW. Terpulang pade korang utk choose White balance yg sesuai utk final image nnti.
Peringatan - Options yang anda pilih di dalam ni akan mempengaruhi kecepatan atau kelambatan pemprosesan :)
Image Processing
Selalunye ade kot dalam 3-5 minit mnde ni nak siap before gmba yang kat bawah ni muncul.
Bile gmba kat atas ni muncul, jangan lak gelabah coz nampak cm tak jadi. Hehe. Sebenarnye xde pape yg salah pun. Hehe. So, pastu, select "Tone-Mapping/Fusion" kat sebelah kiri gambar tu.
Voila! Kan nmpak cm dah ade ciri2 HDR tu? Haha. So, kat sini, mostly editing dan adjustment dibuat. Aku hanya gunakan Detail Enhancer, xpenah lagi so far aku guna yang satu lagi tuh (lupe lak mende). So basically, ade beberapa sliders yang kita perlu adjust mengikut kesesuaian. Aku explain satu2 k.
Strength - Adjust bape gmba tu nye contrast. Kalo tolak slider tu smpai 100, then mmg increase giler2 contrast gmba tu.
Color Saturation - Untuk adjust gmba tu nye color saturation. Bubuh r secukup rase. Jangan kalo merah tu, merah menyala sangat. Huhu.
Luminosity - Adjust utk bagi terang sket bahagian yang shadow. Slider tu kalo tolak ke kanan, lagi la terang gmba tu.
Microcontrast - Aku xbape sure, tp berguna bile nk kurangkan amount of noise dlm gmba. Selalu aku push slider ke kanan smpai abes.
Smoothing - Bergantung kat gmba jugak. Untuk balance kan amount of white points and black points dalam gamba tu. Kengkadang aku letak -10.0, kengkadang 0, kengkadang +10.0. N kalo aku ske, aku letak gk amount yg laen.
White and Black Points - Ni utk adjust bape bnyak cerah dan gelap yang korang nak dlm gmba tu. Buh r secukup rase.
Gamma - Aku xpenah usik yg ni. So, keep it at 1.0. Rase2 aku something to do dengan overall exposure dlm gmba tu kot.
Temperature - Xde mnde kot. Adjust la ikut suka ati korang. Kalo rase2 gmba tu amek time petang, so adjust r kasi panas sket. Huhu.
Saturation Highlights - Adjust intensity bahagian yg agak cerah dlm gmba. So, kalo bahagian tu agak blown-out, boleh r adjust smpai nmpak details kt tempat tuh.
Saturation Shadows - Same cm highlights nye.
Micro-smoothing - Adjust slider pegi ke kanan, so it will give u natural look. Tp, aku selalu letak ni kat 0.0. Bagi de art sket.
Highlight smoothness and Shadow smoothness - Ni boleh guna r utk kurangkan contrast pada bahagian masing2 tuh.
Shadows Clipping - Kalo de noise dlm bahagian shadow, ni boleh digunakan utk minimise kan noise tu.
Bile korang dah puas hati, boleh la select button "Process". Ni pun amek mase gak.
Processing.....
Tadaa..!!!! Ni la result akhir dye.Huhu.
Lepas tu, terpulang la kat korang nak buat pape. Selalu yang aku buat, aku save gmba ni dalam format TIFF 16 bit, pastu bukak dalam Adobe CS5. Post-processing yang aku buat selalunye dgn CS5 ialah membetulkan curve, tambah unsharp-mask untuk sharpen gambar, or noise-reduction dengan noiseware. Kengkadang, aku reduce saturation satu2 colour dlm gmba tu utk kasi natural sket.
Contoh adjustment yg aku buat dengan Adobe CS5.
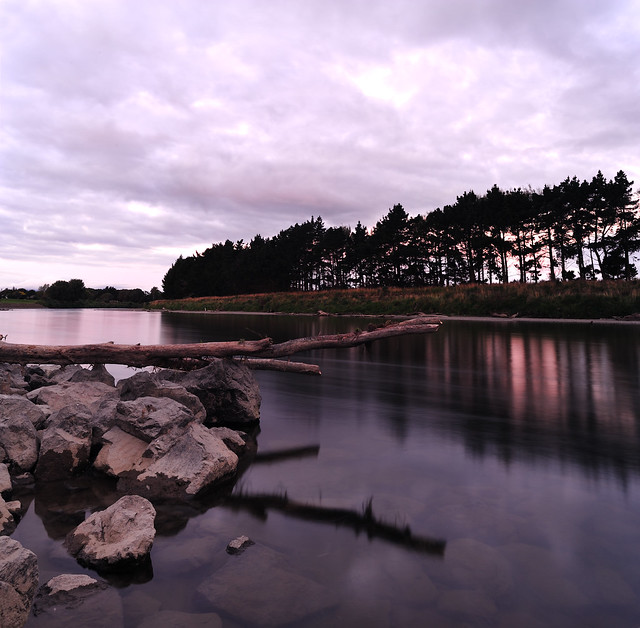
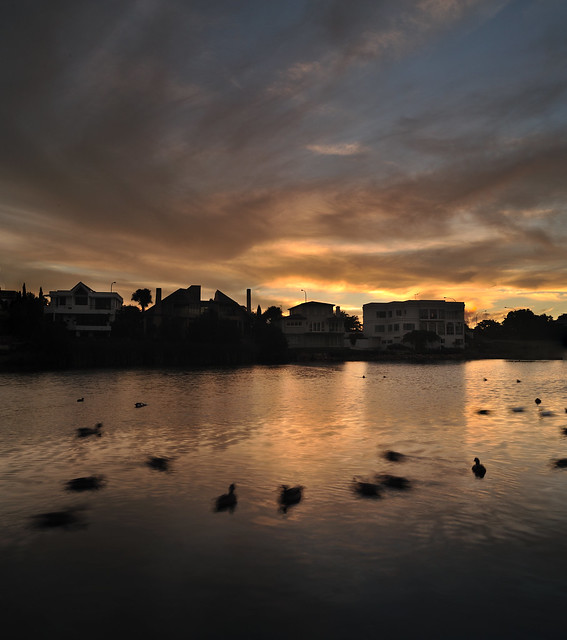
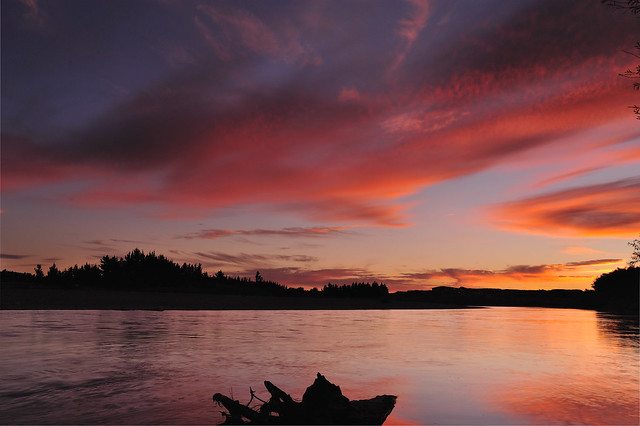
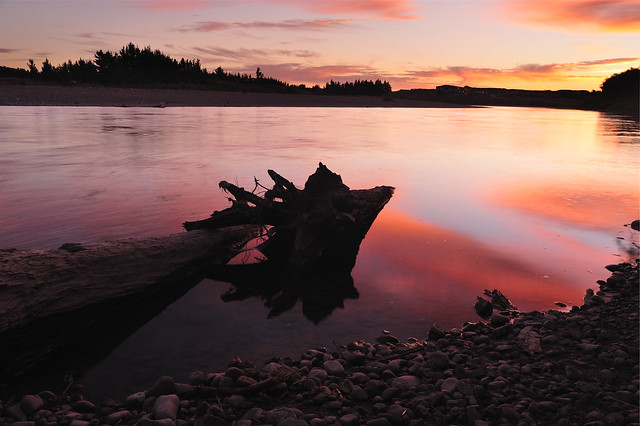
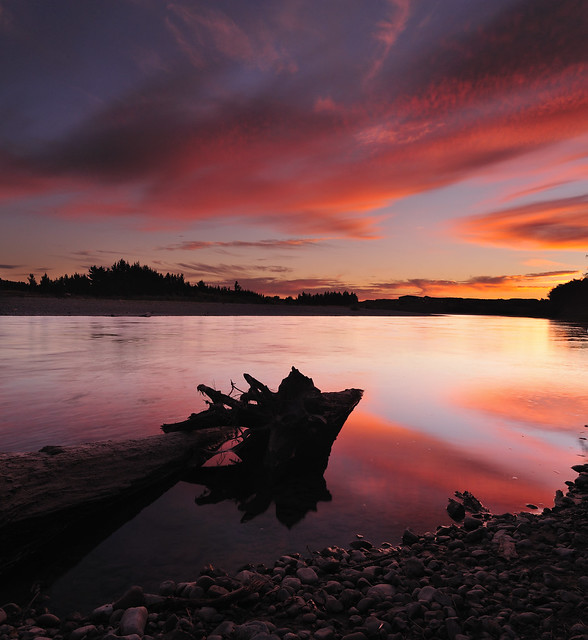
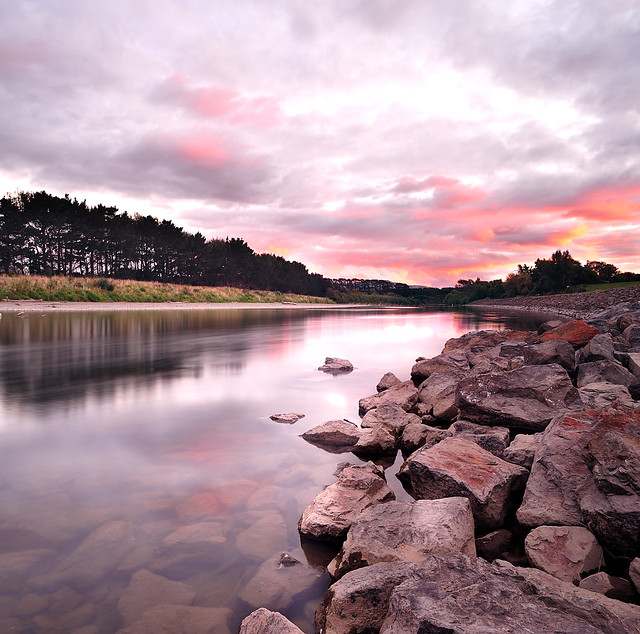
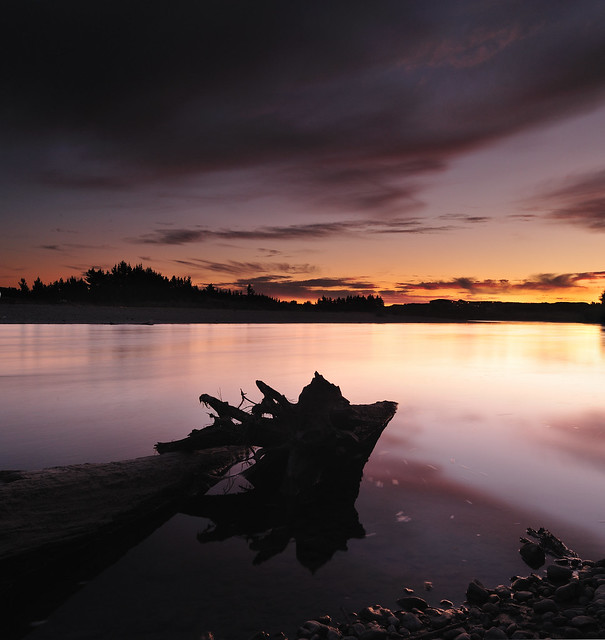
Bile dah puas hati, baru aku save as JPEG and then share it on facebook or flickr like these:
Tu saje dari aku. Kalo de pape yang memusykilkan, boleh r tulis komen kat bawah. Huhu.