Friday, March 25, 2011

ASiS : Farewell Tuan Haji & SPM 2010 Results

Finally, after almost 9 years leading ASiS, perfecting an initial, "second hand" school (after legendary school Alam Shah (SAS) moved to Putrajaya) into a high performance school (SBT), it's time for him to retire from this profession. The person I'm talking about is ASiS first principal, Tuan Haji Mohd Idrus Bin Abdul Hamid.

So, there was a ceremony being held last Tuesday at ASiS to celebrate his retirement. If I was in Malaysia that day, surely I want to come. But unfortunately, I'm thousand miles away from there. But thank God, everything went very well, although it's slightly raining that morning. And eventhough I wasn't there, few of my friends made it to come.

As for our batch (OASiS0405) , we had already planned couple days earlier to give a farewell present to Tuan Haji. And lastly, we have decided to give a framed picture to him.

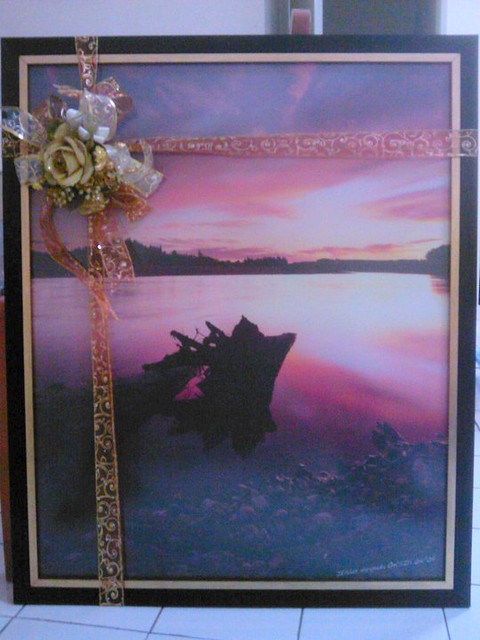
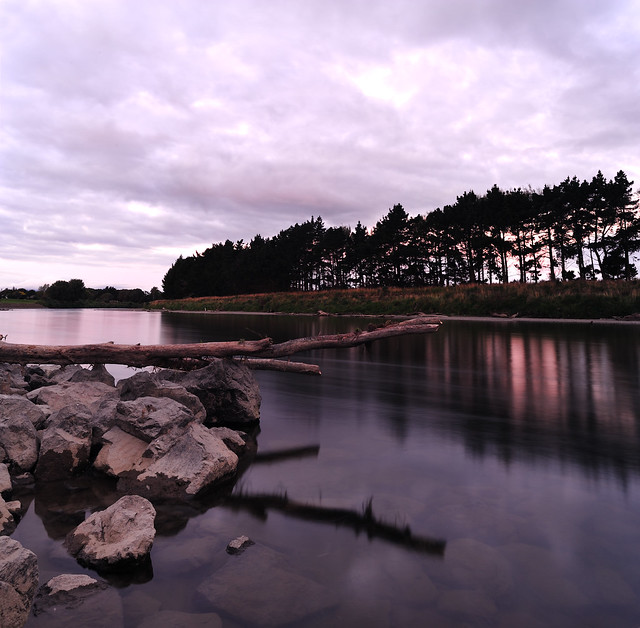
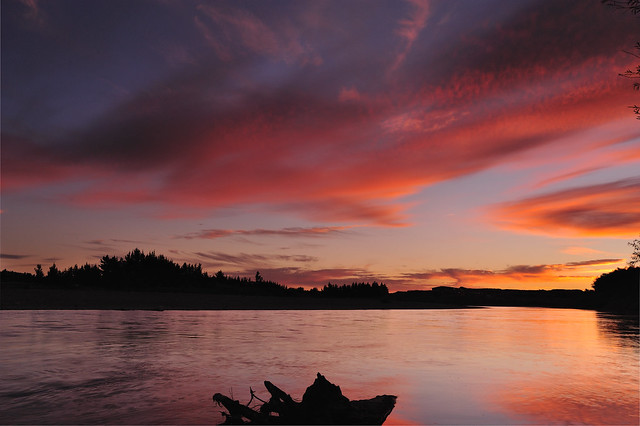
And I feel honored when they decided to buy a canvas print of one of my pictures (I mean, landscape pictures that I snap over years). So in general, it was a gift from our batch to Tuan Haji as a token of appreciation of his hard works throughout the time. But also personally, it was a gift from me as well. And I hope that he gonna like it.

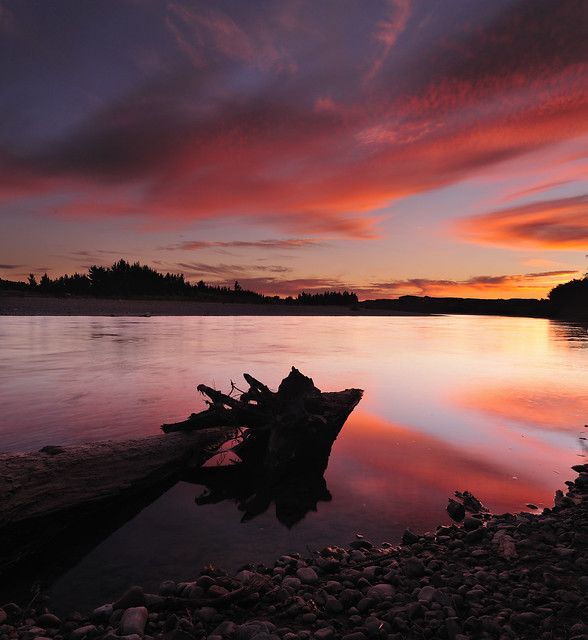
Manawatu River at Dusk (Part 2) by Nadly Aizat
This is the chosen picture.

1
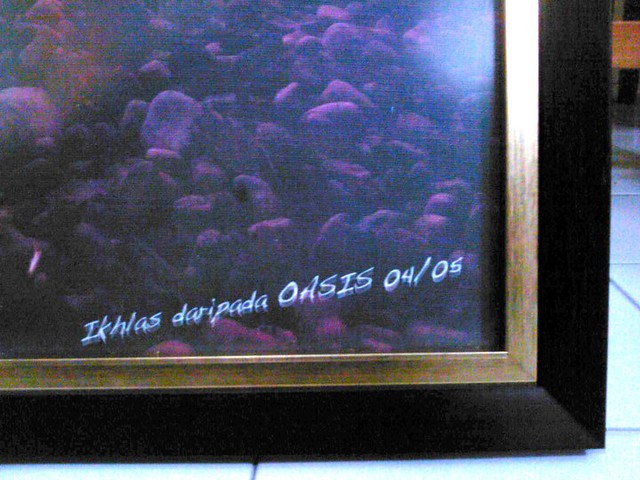
After printing and framing, here it is.

2
2nd generation of ASiS, will never forget you, Sir.

3
Thanks a lot to Izzat Rahman, the most committed person.

4
One thing that attracts my attention (and other as well) is that Tn Haji wore our batch's tie during his final day.

Till our next meeting, Sir.

I want to thank all of my batch mates who're involved and contributed whether directly or indirectly in ensuring our plan for Tn Haji's retirement being successful. Special thanks to Akmal Mehat (KP ASiS 05') for gathering our mates back, Izzat Rahman for your time and commitment, and also to the sponsor (he preferred not to be named).

SPM Results 2010

Well, until this entry was written, I don't have any confirmed details about the result. But roughly, the numbers had increased (might be good, and might not be good). ASiS maintained its position as the best school in Kuala Lumpur. Six students got straight A+, while over hundred students got all As. Subject History made a record as the best among the schools in Malaysia, but after all of this, it's still not enough for ASiS to maintain its position among the best five SBPs. SASER still leading, followed by SBPI Gombak and few others "common schools in top five", except a new comer, SEPINTAR. And ASiS was placed 6th. Not bad.

Congratulations to them (proudly called "Patriots"). It just a beginning anyway. Prove yourself to do better when you become a college / varsity students soon.

P/s : Thanks Izzat for the pictures.
Monday, March 21, 2011

Good Luck to all SPM Candidates

After few months since the end of SPM, now it's almost the time where you'll get the fruits of your patience, hardworking etc.

I want to take this opportunity to wish you guys, especially my dearest juniors of ASiS, all the best. Hope that whatever you get, it's gonna worth it.

And what will happen after that? Well, a decision time on your next stages of your life. Some want to do medicine, engineering etc.... So my advice to you guys,

BE WISE IN MAKING YOUR DECISION.

Barakallahulaka.


Tuesday, March 15, 2011

Fluidr's Explore & MUMSA Picnic

Hey guys,

Referring to one of the photos in the previous post, I feel surprised and honored when it was listed on Fluidr's Explore. What is Fluidr's Explore? Basically there are 500 pictures from Flickrs worldwide that are listed according to the interestingness. And my picture was listed as number 146 most interesting picture out of 500 pictures worldwide on 10th March 2011.

Manawatu River at Dusk (Part 2) by Nadly Aizat
Manawatu River at Dusk

Eventhough I didn't get any prizes (of course since I didnt get the first place), I feel satisfied since it was one of the best picture I ever produced. Since that day, I got many messages on my Flickr and many of em' also added me as their contact, plus added this picture as their favourites too.

I'm going to join one of the photo competition by next month. So, wish me luck guys :)


MUMSA Picnic and Ice Breaking 2011

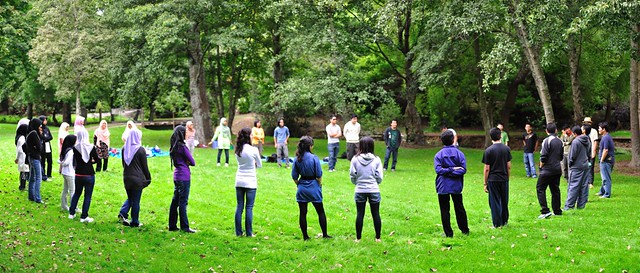
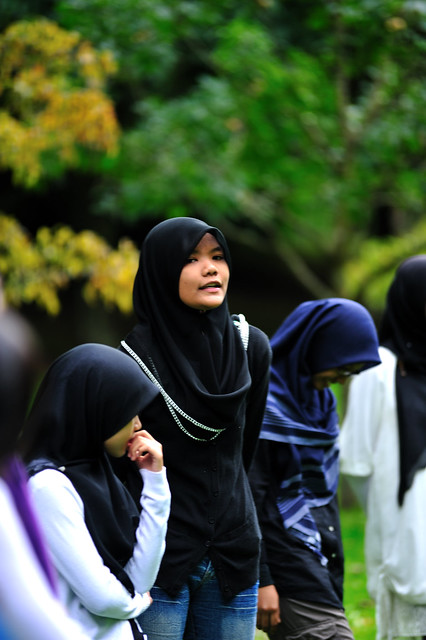
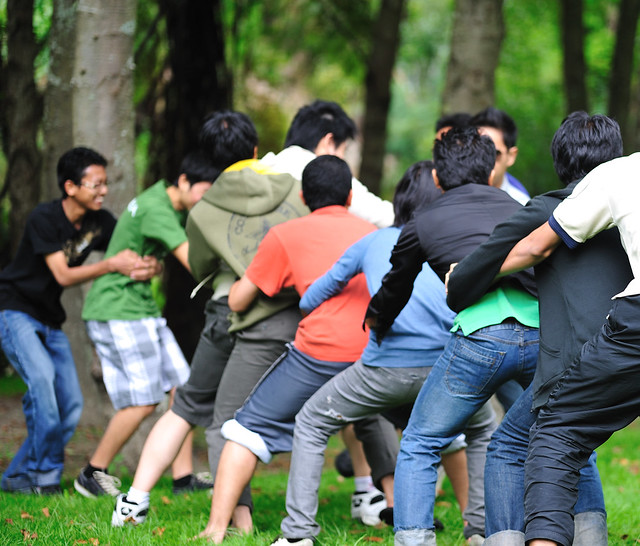
This event was held last saturday. Basically to introduce the new Malaysian students to the existing members of MUMSA plus to get together. Few activities were being done, more to the team-building purposes.

DSC_5936_stitch
Those who're coming

DSC_5895
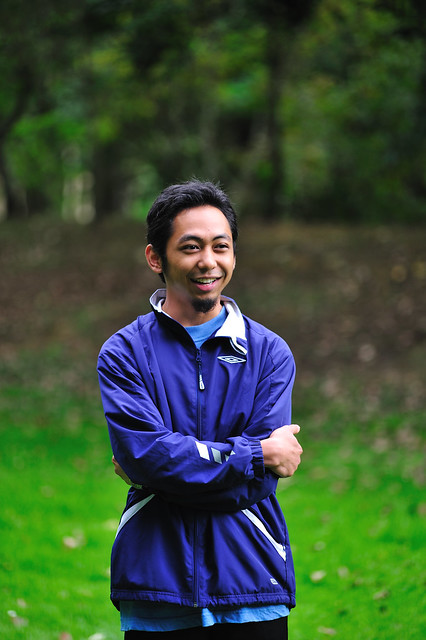
Lutfi, Mr President

DSC_5921
"Introduce Yourself" session

DSC_5987
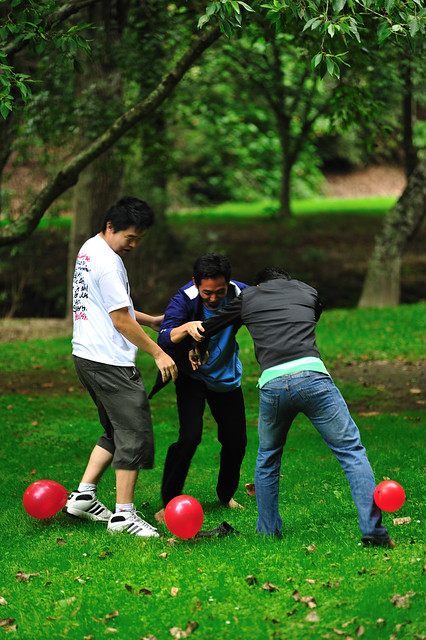
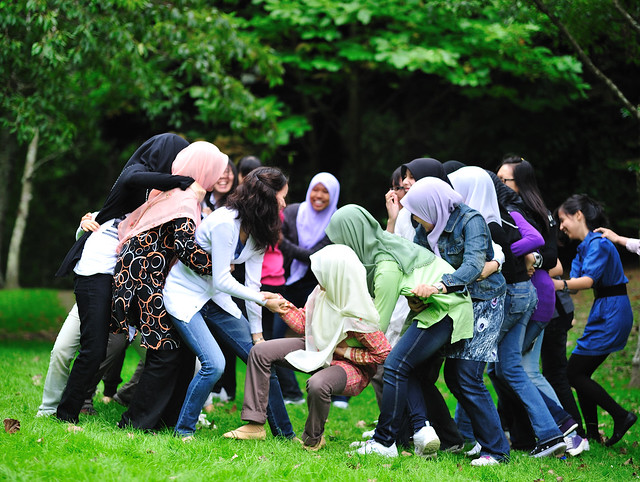
War games. Main pijak2 belon.

DSC_5994
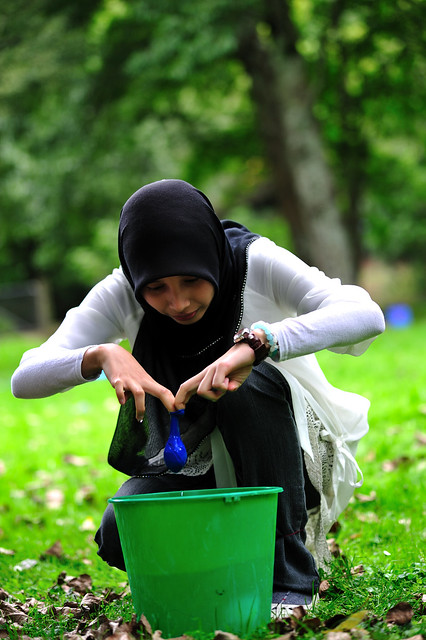
Fill in water into the balloon and transfer it into another bucket. The most filled in bucket's team won.

DSC_6013
Lipan Mengamuk (Guys)

DSC_6015
Girls' part

DSC_6019
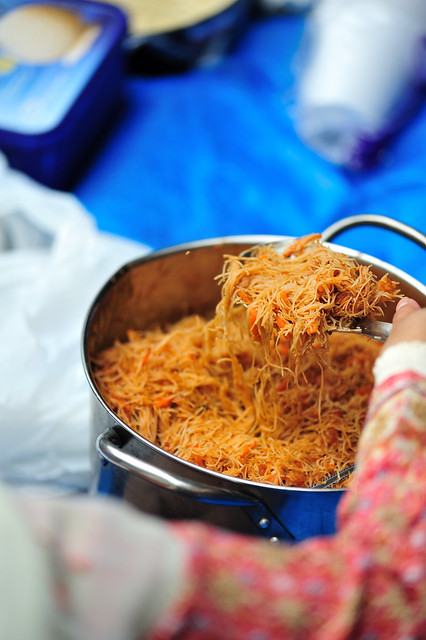
The most awaited part ; Makan2.

DSC_6038
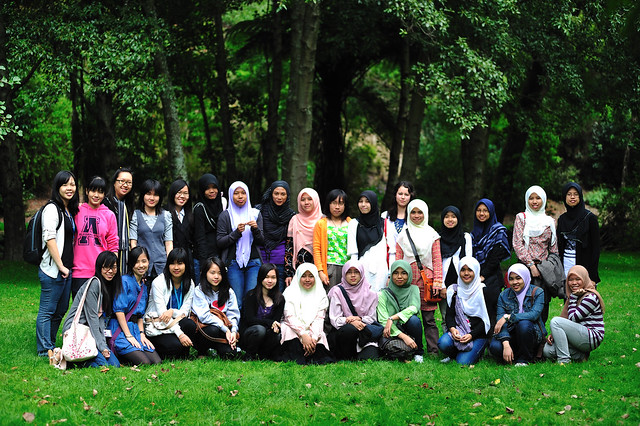
Lastly, group pictures.

Next activities? Tunggu......


Friday, March 11, 2011

Introduction to Vertorama

Assalamualaikum wbt and very g'day to all my friends who read this blog,

This time, I want to share with you guys on how to do a vertorama image. Vertorama is simply the same thing like panorama ; photos-stitching. And it's an alternative way to imitate the broad, wide angle lens used vertically.

11
Example of vertorama

DSC_5868_70_stitch
Centennial Lagoon, Hokowhitu

Basics

Things that you need are simple. A camera, a tripod, remote shutter and also if you want to playing around with light, then bring along neutral density (ND) filter. Another thing, the best moment to capture the picture. This is sometimes, not an easy thing to do. Like myself yesterday, I spent around one hour just to capture pictures on the right time ; sunset.

As usual, I shoot in RAW. Why RAW? This format gives me more flexibility to tweak few settings like white balance in order to get spectacular pictures that I want, plus to retrieve details that lost if the pictures are under or overexposed.

When the time comes, I mounted my camera on the tripod and positioned it on the best angle (I prefer to use low angle, depending on the situation). Use of remote shutter is highly recommended since slower shutter speed is used.

Vertorama technique

Well, in vertorama, at least two frames are needed. One for foreground, and another one for background. Here comes the importance of tripod, because when you finished with one frame, you need to change the camera's position vertically (upwards or downwards) without changing much of the horizontal position.

The most important thing here is that to ensure white balance for both frames are the same. You can either set this up in your camera before taking shots, or if you're shooting in RAW, just simply take care of this with appropriate software like Adobe Camera RAW or Nikon Capture NX2 (I'm using the latter).

I used the Aperture priority mode (A). Manual mode (M) also can be used as well, if you don't want to change any other parameter such as shutter speed.

2ab
First frame for the background.

2cd
And the second frame is for the foreground (can be in any order you want).

Post-Processing Workflow

After coming back home from the scene, I loaded up all of the images taken. Since I'm shooting in RAW, I will settled down white balance first with Nikon Capture NX2 and maybe some of the things like to eliminate vignette, contrast enhancement etc. In this example, I used "daylight" white balance with the setting of either "cloudy" or "shade" to give the pictures much warmer, suitable with that moment. Finished with all of that, I saved the files as 16-bit TIFF. Done with Nikon Capture NX2, now I moved out to Adobe Photoshop CS5.

For your information, I'm usually shoot few frames for each foreground and background. For this purpose, I used Auto Exposure Bracketing (AEB) feature in my camera, so that I can merge some of the pictures in Adobe Photoshop CS5 manually in order to get the best exposure for each frame. If you want to know more about this, you can google "manual exposure blending". There's plenty of tutorials available online.

Now I moved to Microsoft ICE for the final process ; photos-stitching. Basically simple stuff, just load the images, and the rest it will get it done for you. Finally, save the final image as JPEG (or if you want to do any further editing, then make it TIFF). For those who are still new to Microsoft ICE, then please refer my last entry about it HERE .

Here's the final images that you may get :

Manawatu River at Dusk (Part 2)
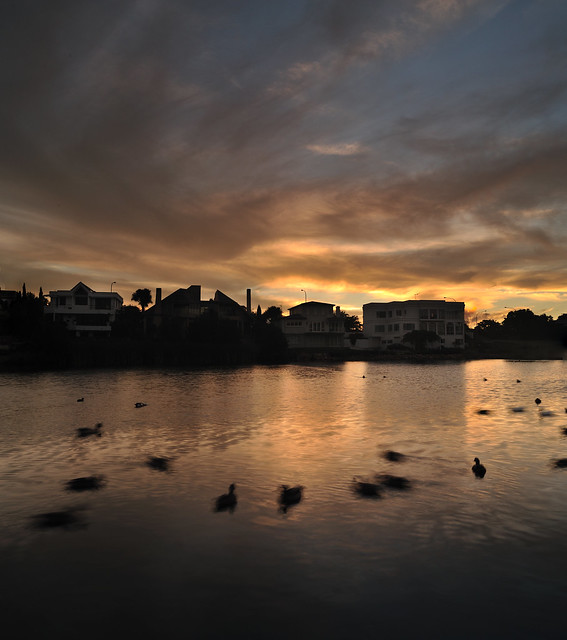
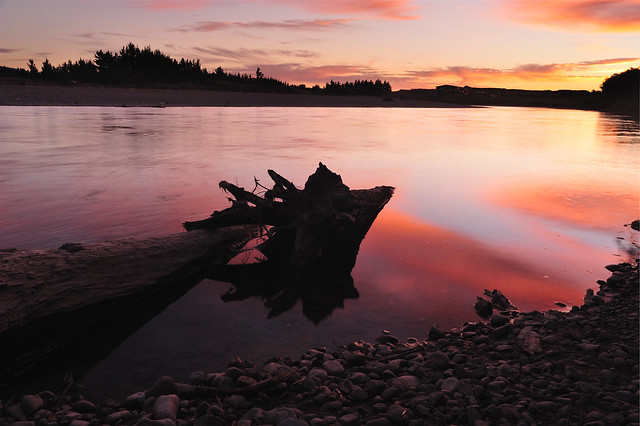
Manawatu River from Awapuni's part.


Manawatu River at dusk
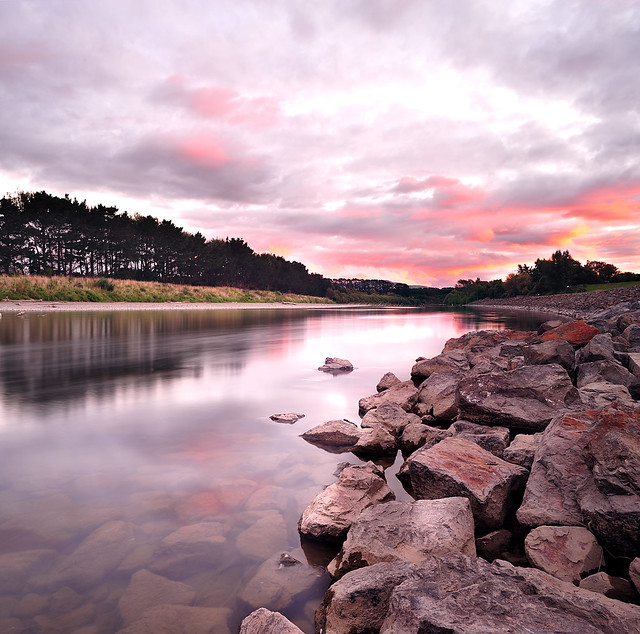
Manawatu River from West End's part

7ab_stitch
The unreleased version of Manawatu River, Palmerston North

That's all for now. Feel free to ask me if you don't understand or want to know in details. I would like to thank my brothers in FOTOMEDIA for introducing this technique to me.


Tuesday, March 1, 2011

The Last February Weekend ; Bi-Picture.

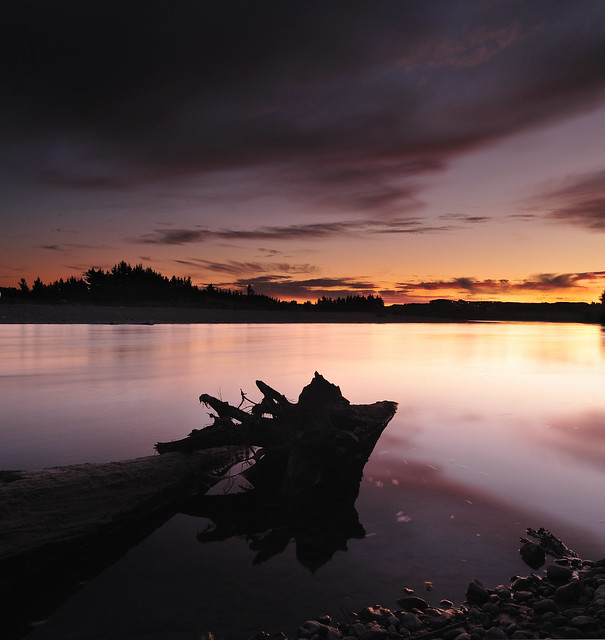
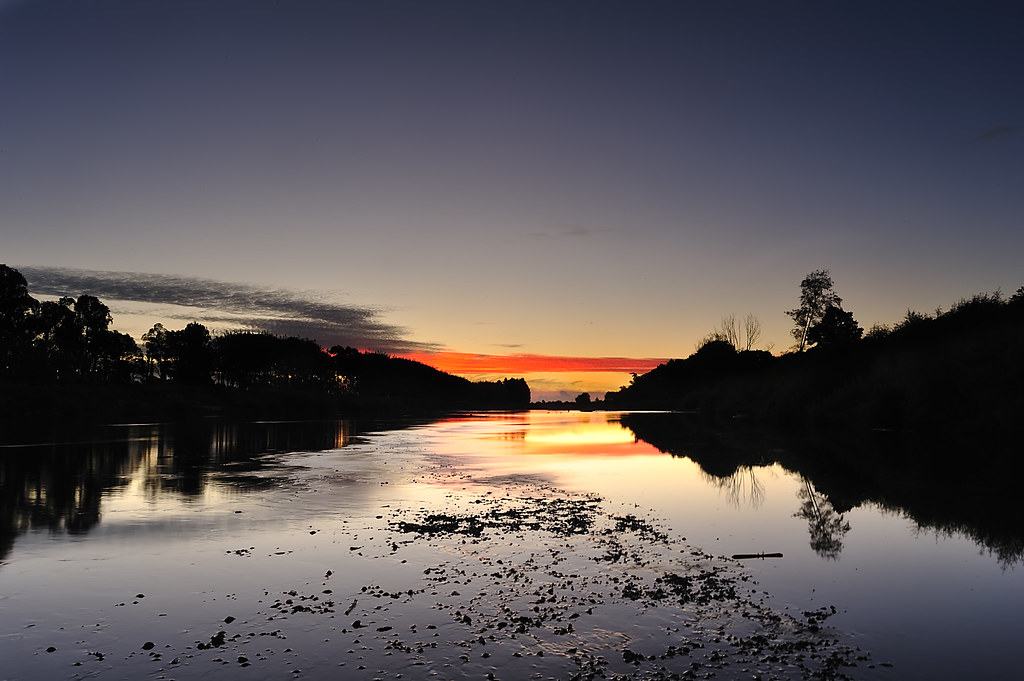
Manawatu River during sunset.

Manawatu River during sunset (Part 2)
Nikon D700|f/32|3s|24mm|+1EV|ISO 100

Comment : Planning to get an ultra wide angle lens. Perhaps 12-24mm.

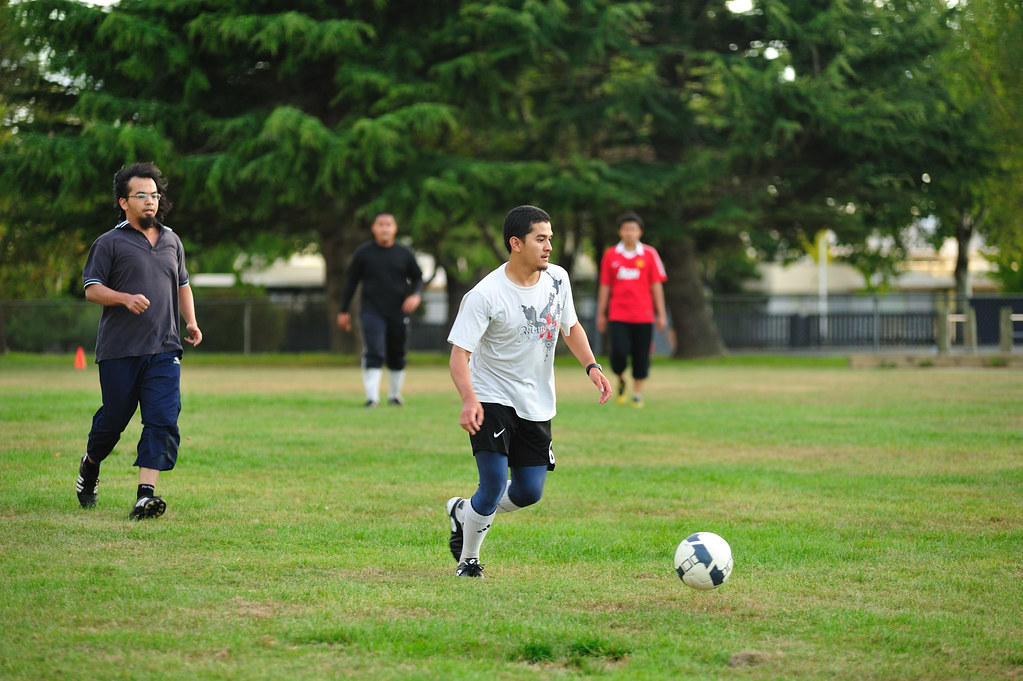
Weekend soccer.

Soccer - Weekend past time.
Nikon D700|f/2.8|1/200s|140mm|ISO 500

Description : One of the activities done by Malaysian at Palmerston North during weekend. Soccer game. One thing that differentiates here with any other places is that undergrads are very friendly and close with the postgrads. It's the thing that made me like being here and feel like in Malaysia.