This is the response to the poll I created in the previous entry, where I was asking the you guys to choose which tutorial you want me to write. So, you have decided that I'm going to write on how to make the star trails.
As we know, the earth is moving slow, but constantly. This will make us, which are on the earth seeing that the stars are moving. If we shoot with long exposure enough, the stars will form the trails.
Tips on Choosing the Right Time and Place.
In general, there are few tips that need to be considered in order to find the right time and place to shoot stars, which are:
1) Choose the right night.
To ensure a clean and clear star trails, you need to find a time where there are no clouds and also visible moon. When the moon is visible, it will illuminate the haze that always in the atmosphere, causing the trails looks a lot duller. I usually do shooting stars during the end of the month, before new moon is rising.
2) Embrace the darkness!!!
A good trick to shoot star trails is stay away from the cities, or any places with higher light pollution rate. This excessive light will also affect the quality of the trails produced.
3) Find the epicentre for a round, circle star trails.
This will vary from place to place. Like my place in southern hemisphere (New Zealand), it is easy to get the epicentre in the frame as I was very close to the pole. But compared with my homecountry Malaysia which is located at the equator, it is almost impossible to get the centre within frame. The trick to find this is to pointed the camera to the direction of either pole which is closer (if you're in England then point the camera northwards, or if you're in Australia then point the camera southwards).
4) Bring your tripod.
Of course, when it comes to long exposure we need a tripod.
Camera Settings.
Basically, any type of camera can be used especially if it can handle long exposure without being affected by hot-pixels problem. I used my DSLR coupled with a wide angle lens to do all of these kind of shots.
The settings are as follows:
1) Aperture : Quite small, around f/8 - f/11.
1) Aperture : Quite small, around f/8 - f/11.
2) Shutter speed (or I prefer to call, an exposure) : To capture the trails, we need a very long exposure. But as I mentioned earlier, this will be quite cumbersome if the hot-pixels appeared. So my suggestion is to shoot a series of moderate long exposures and later on combined or stacked in the software related. I usually shoot continuously around 100-plus frames within an hour with every frame exposure is around 30 second (100 x 30sec).
Another way to reduce the hot pixels in the picture is to turn on the long exposure noise reduction function in your camera. But this will make the process of transferring the picture into memory card much longer.
3) ISO : Generally, keep it lower. But sometimes when I want to shoot faster, I will increase the ISO around 800 to 1000.
4) Shoot in RAW : In case if the image produced has a significant amount of noise and hot pixels, it can be reduced through the post processing of a RAW file. Plus, dull or hazy color cast can be removed if certain adjustment to the white balance settings is done.
Post-Processing / Stacking
When you coming back from the scene, load up all of the pictures taken. If it was shot in RAW format, then we might need to do some post processing, like adjusting the white balance, reducing noise level, or dealing with the hot pixels. Finished with all of these, then convert all of the images into JPEG format.
I used a software called Startrails.de which can be downloaded HERE. The steps are quite easy. Load all of the images in the software, click the "start process" and voila, it will be done within a minute.
In the end, you might get pictures like these :
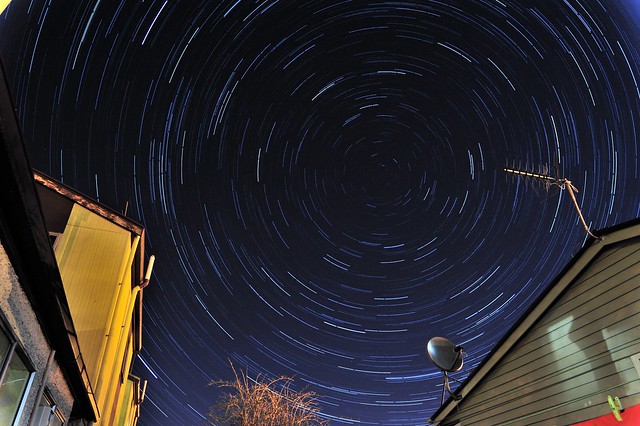
I shoot this at the backyard of my home. Not really a good place though, but not bad for a start.
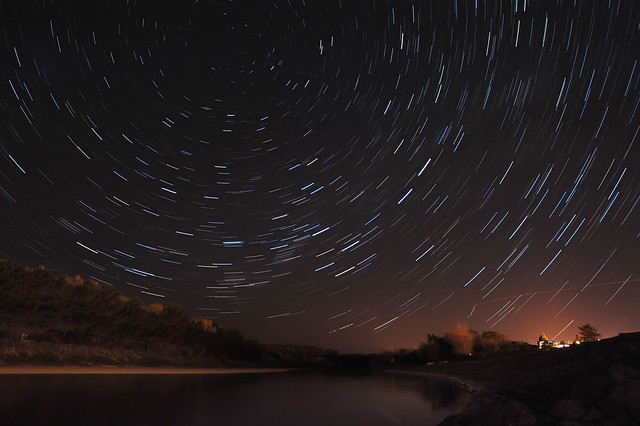
Manawatu River 1.
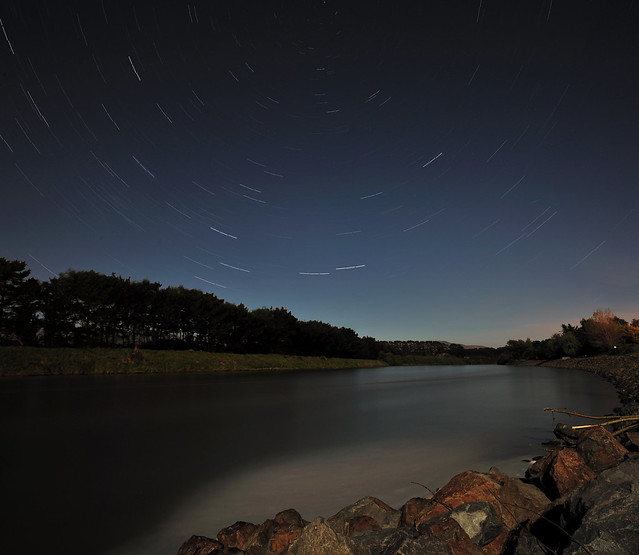
Manawatu River 2.
That's all for now. If you have any question, please ask me through the comment section of this entry. Cheers.
2 comments:
nice tutorial, will try it soon...
arepchepha.com
thanks! good tutorial =)
Post a Comment